Scones
Scones are a type of baked bread or biscuit that is popular in many countries, especially in the United Kingdom. They are small, round, and fluffy, often enjoyed as a snack or part of a meal. It has a soft inside and a slightly crisp outside. They can be sweet or savoury and are usually served warm.
Scones have been around for hundreds of years. The word “scone” is believed to come from Scotland or Ireland, where these tasty treats were first made. Traditionally, scones were cooked on a griddle or flat pan over a fire. Today, they are baked in ovens, but the idea is still the same: a quick, simple bread made with basic ingredients.
Ingredients
Scones are made from simple ingredients that you might already have at home. The main ingredients are flour, baking powder, butter, and milk or cream. The butter should be cold to help make them light and flaky. Baking powder helps it to rise and become fluffy. You can also add sugar if you want sweet scones, or cheese and herbs for savoury ones.
Why Cold Butter?
Cold butter doesn't fully melt into the flour before baking. Instead, it creates small pockets in the dough.
In the oven, these butter pieces melt and release steam, forming air pockets and creating a flaky, light texture.
How Are Scones Made?
Making scones is easy and quick. First, you mix the dry ingredients like flour, baking powder, and salt. Then, you add cold butter and rub it into the flour until it looks crumbly. After that, you pour in milk or cream and gently mix everything to form a soft dough. It is important not to mix too much, or the scones may become tough. Next, you pat the dough flat and cut it into circles. Finally, you bake the scones in the oven until they are golden brown.
How to Enjoy Scones?
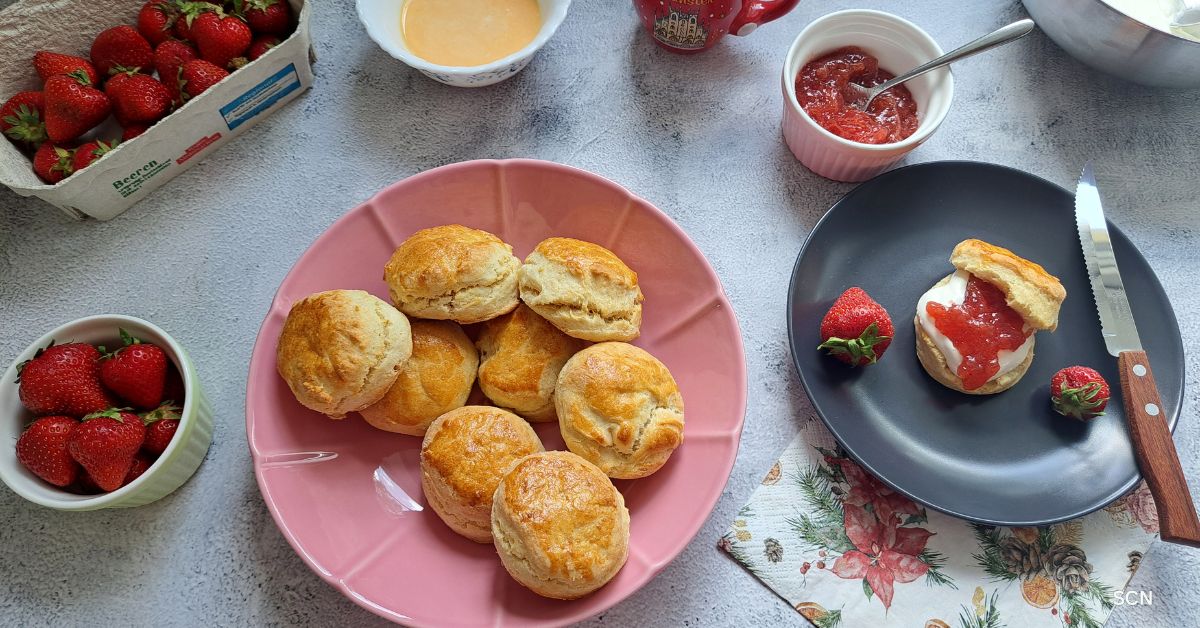
Scones are often eaten warm, right after baking. They are delicious when split open and spread with butter, clotted cream, and jam. This is a traditional way to enjoy scones during afternoon tea. You can also enjoy scones with honey, lemon curd, or even savoury toppings like cheese or smoked salmon.
Start your day right with our easy and delicious breakfast recipes!
Clotted cream
Traditional clotted cream takes many hours to make. It is slowly heated and then cooled to form a thick, rich layer of cream. This process can take up to 12 hours or more. It gives the cream a unique taste and texture. However, I made a quick version that is much faster. It uses just a few ingredients and takes only a short time to prepare. While it’s not exactly the same, it is creamy and delicious. It’s a great option when you want clotted cream without the long wait.
Variations
There are many ways to make scones your own. You can add dried fruits such as raisins or currants for sweetness. Some people like to mix in fresh berries or chocolate chips. For savoury scones, try adding cheese, herbs, or even cooked bacon. The basic recipe is very flexible and can be changed to suit your taste.
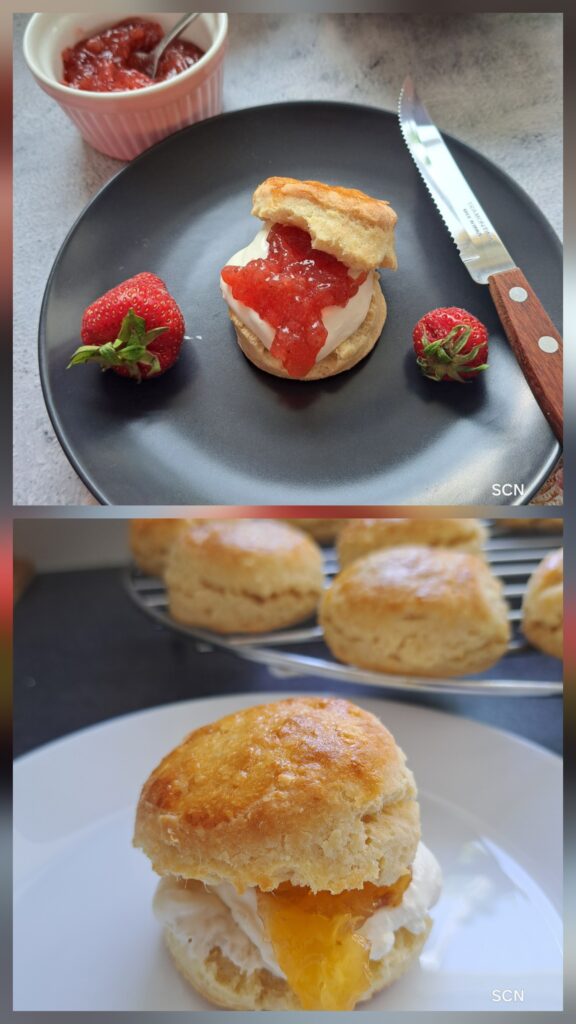
Warm scones are served fresh with strawberry and apricot jam.
Simple, sweet, and perfect for any moment.
Tips for Perfect Scones
To get the best scones, use cold butter and don’t overwork the dough. Press the cutter straight down when cutting the shapes, and don’t twist it. This helps the scones rise well. Brush the tops with an egg wash for a shiny, golden finish. Serve them fresh and warm for the best taste.
Scones are a simple and delicious treat loved by many. They are quick to make, use basic ingredients, and can be sweet or savoury. Whether for breakfast, tea time, or a snack, they are a perfect choice to enjoy with family and friends.
Craving comfort food? Check out the shepherd’s pie recipe for a simple, hearty meal everyone will love!


Scones
Ingredients
- 240 g all-purpose flour
- 2 tsp baking powder
- ½ tsp salt
- 75 g cold butter
- 100 ml cold cream
- 100 ml milk 3%
Quick clotted cream
- 100 ml of cream
- 100 g mascarpone
Egg wash (optional)
- 1 egg
- 1 tbsp milk or cream
To serve
- Jam of your choice
Instructions
- Preheat oven to 230°C. Line a baking sheet with parchment paper.
- In a large bowl, combine flour, baking powder, and salt.
- Sift the flour, baking powder, and salt into a large bowl to ensure even distribution and a lighter texture.
- Cut the cold butter into small cubes and add to the flour mixture. You can also grate the butter using a coarse grater for easier mixing. Use your fingertips or a pastry cutter to rub it in until the mixture resembles coarse crumbs.
- Refrigerate the flour for 10-15 minutes.
- Pour in the milk and stir gently with clean hands until just combined. Do not overmix — the dough should be soft and a bit sticky.
- Note: You can use only milk (3% fat), or for a richer scone, substitute half of the milk with cream (e.g., 100 ml milk + 100 ml cream). Both versions work well—just choose based on your preference for texture and richness.
- Lightly flour your surface and gently pat the dough (or roll slightly by dusting the rolling pin with flour) to about 2.5–3 cm (1 inch) thick.
- Use a round cutter to cut out scones. Lightly dip the cutter in flour before each cut to prevent sticking and ensure clean edges.
- When cutting out the scones, press the cutter straight down without twisting. Twisting seals the edges and can prevent rising. Place the scones on the prepared baking sheet.
- Gather scraps and repeat. If needed, refrigerate the dough before baking. Keeping the dough cold helps the scones rise better and stay flaky.
- Optional: For a golden top, brush only the tops of the scones with an egg wash made from 1 egg mixed with 1 tbsp cream or milk. Avoid letting it drip down the sides, as that can hinder rising.
- Bake for 10–15 minutes or until lightly golden on top.
- Cool slightly on a rack before serving.
Quick Clotted Cream:
- In a small bowl, whisk together the heavy cream and mascarpone until smooth and slightly thickened.
- Chill until ready to serve.
Serving tip:
- Enjoy the warm scones split in half with a generous dollop of quick clotted cream and your favourite jam.
Notes
Frequently Asked Questions
The most common reasons are twisting the cutter (which seals the edges), overworking the dough, or expired baking powder. Make sure to press straight down with the cutter and handle the dough gently.
Yes. You can prepare the dough ahead, wrap it tightly in plastic wrap, and refrigerate it for up to 12 hours. Bake straight from the fridge, adding 1–2 extra minutes to the baking time.
Absolutely. You can freeze unbaked scones on a tray, then store them in a freezer bag for up to 2 months. Bake from frozen at 230°C for a few extra minutes, or until golden. Baked scones can also be frozen and reheated.
Use cold butter, work quickly, and don’t overmix the dough. Keeping everything cold helps create steam pockets, which result in flaky layers.
This recipe uses plain (all-purpose) flour with added baking powder. If using self-raising flour, reduce or omit the added baking powder accordingly.
Store cooled scones in an airtight container at room temperature for 1–2 days. Refresh by warming them in the oven for a few minutes before serving.
Definitely! Add up to 60–70 g of dried fruit (like raisins) or grated cheese to the dry ingredients before adding butter.
Share Your Creations and Connect with Me on Social Media!
Have you tried this recipe? Don’t forget to tag me with your pictures on Instagram – I love to see your creations! 💕 Also, be sure to comment and rate below! Follow me on social media: